1. Login to your website WP admin dashboard (e.g., https://greyboxprod.wpengine.com/wp-admin/).
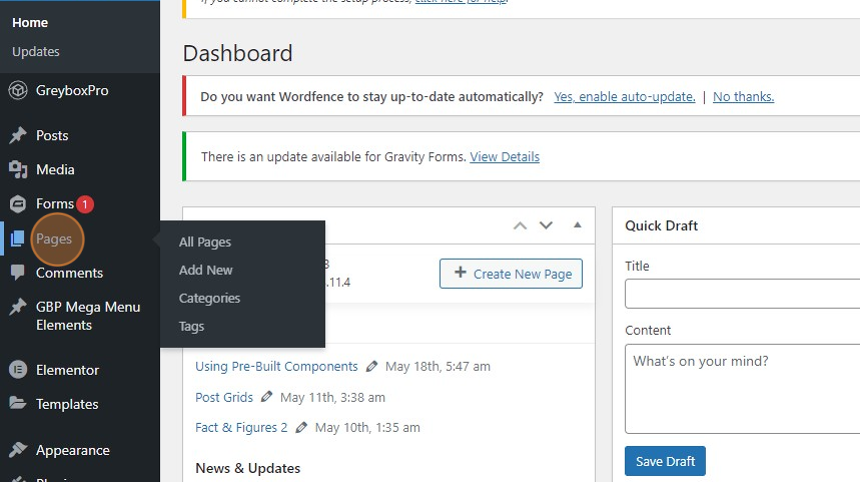
2. Click on ‘Pages’ in the menu at the left-hand side.
3. Once in you’re in the Pages window, type the word “Testimonials” on the textbox field at the right-hand side of your screen, and click the ‘Search Pages’ button.

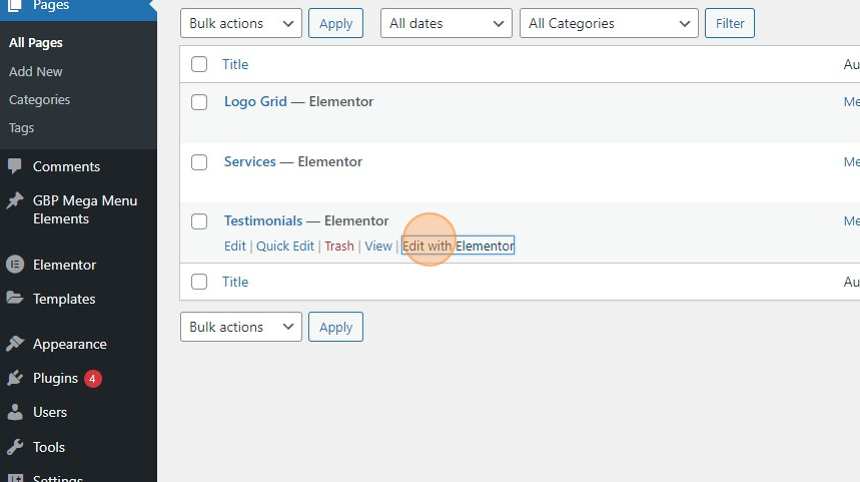
4. You will see the “Testimonials” page appear in the list. Under the “Testimonials” page right-click ‘Edit with Elementor’ and open in a new tab.
5. Scroll down the “Testimonials” Page and choose the one that suits your needs. Right-click your chosen widget/section and select ‘Copy’.

6. Open the page that you’ll be working on in the Elementor Editor and paste the copied widget/section onto the desired section or column in the canvas.

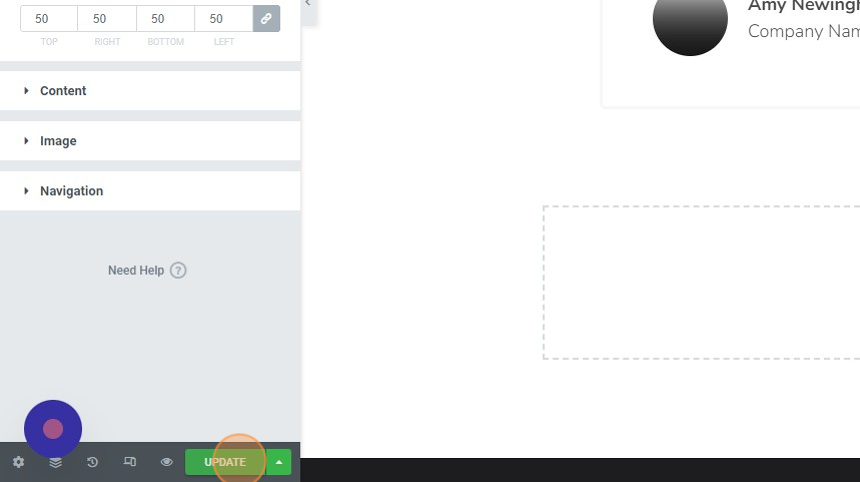
7. Click individual widgets to edit and customize them.

8. On the left panel, you will see customization options for content. Here you can edit the texts, change the images, change the skin, etc.

9. To change how your Testimonial appears, click on the ‘Style’ tab to see style options per widget.

10. Once you’re done customizing your Testimonial Component, click the ‘UPDATE’ button at the bottom left-hand corner of your screen to save the changes made.