1. Login to your website WP admin dashboard. For example,
https://greyboxprod.wpengine.com/wp-admin/.
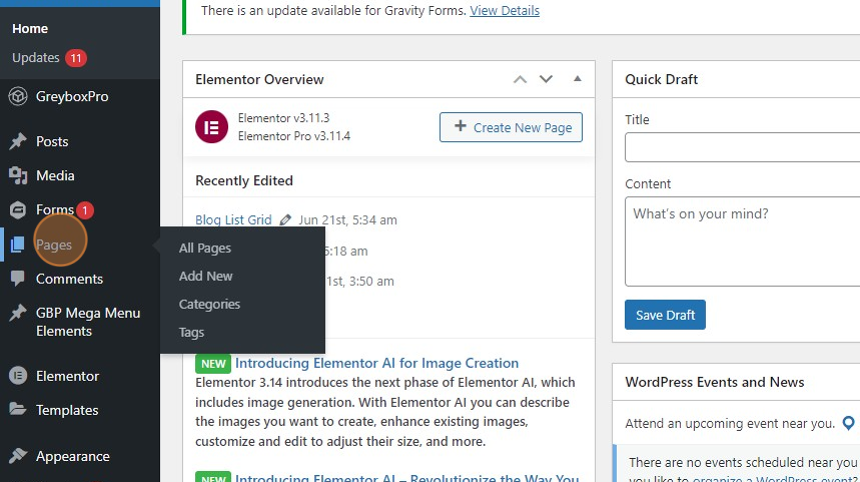
2. Click on ‘Pages’ in the menu at the left-hand side.
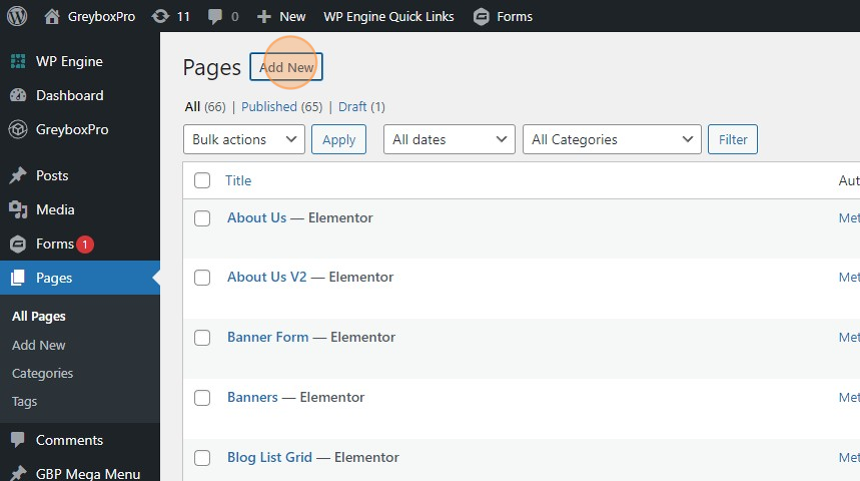
3. On the top of the page, click ‘Add New’ button to add new page.
4. Click “Add title” to enter title of the page.

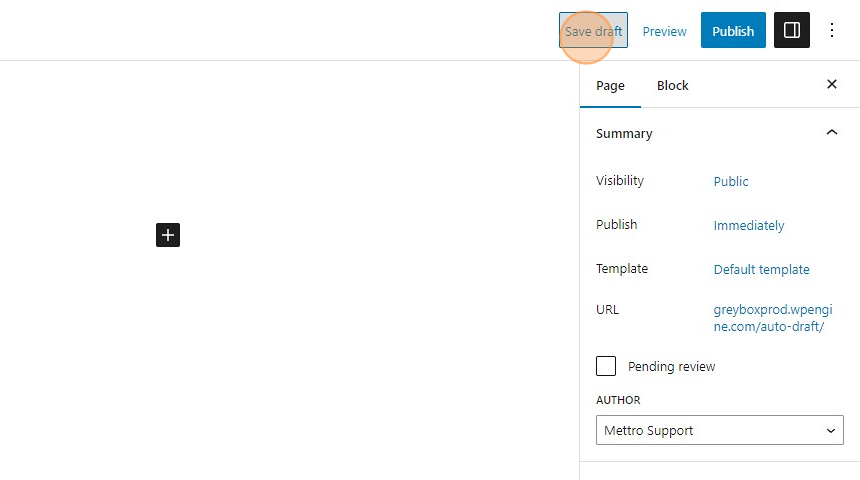
5. Click ‘Save draft’ button to save changes.
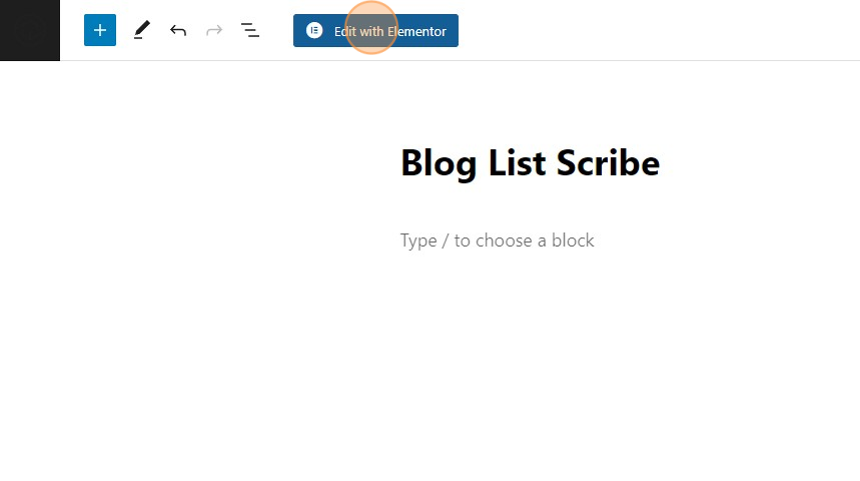
6. You will see ‘Edit with Elementor’ button to edit the page in elementor editor.
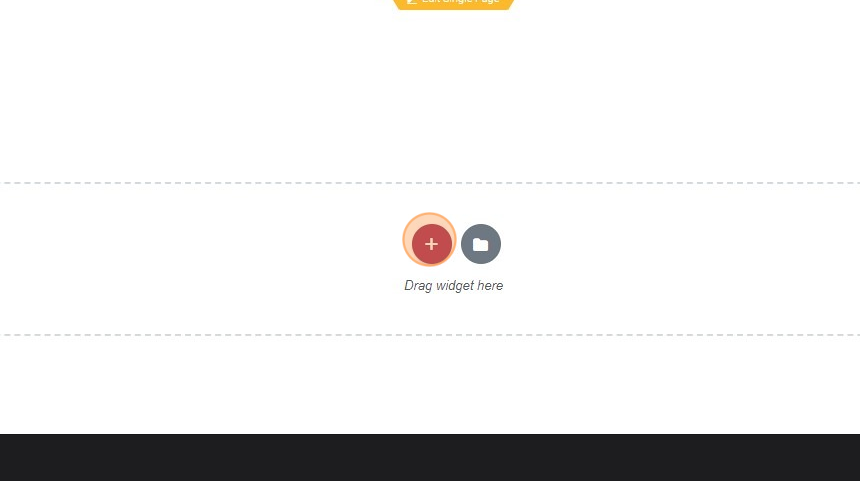
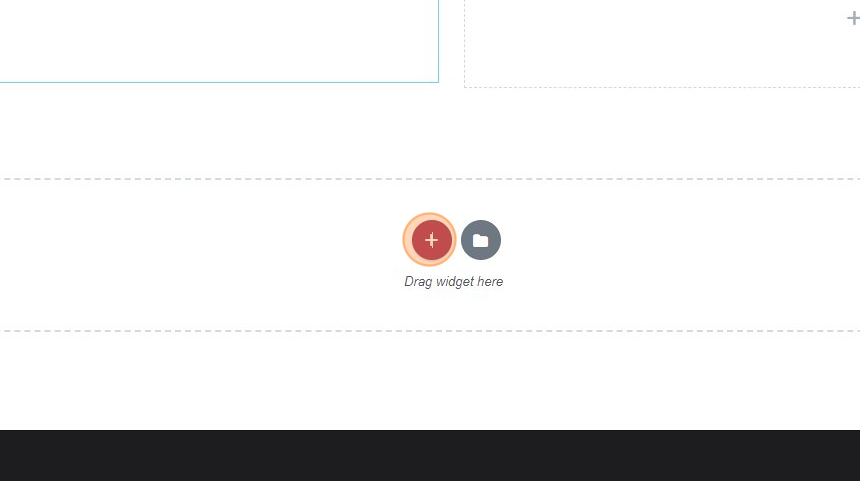
7. On the center section you will see “plus +” icon to add columns.
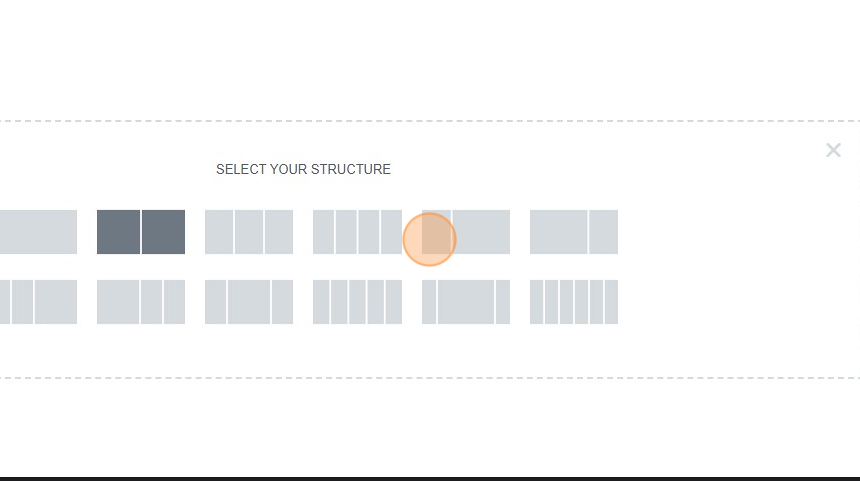
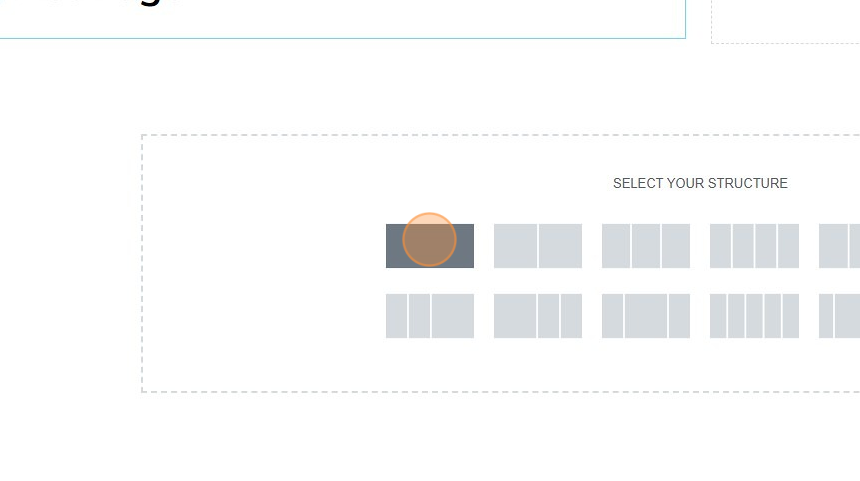
8. Select a structure of column you want.
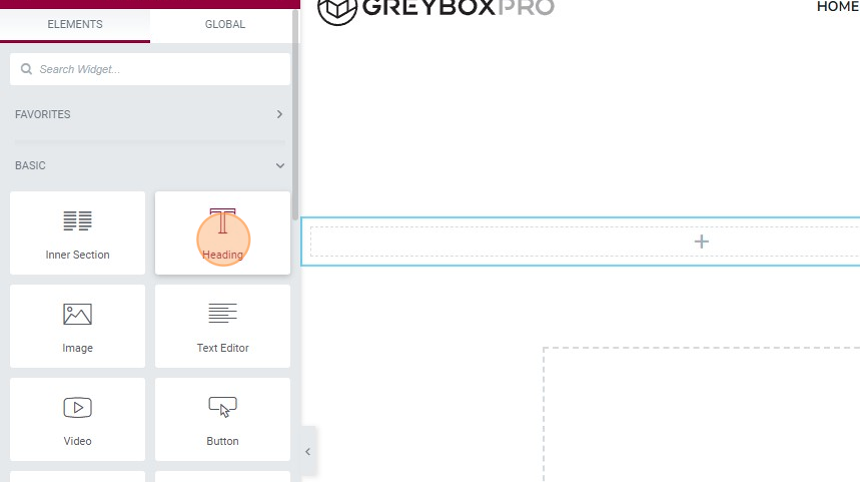
9. Click the column that you want to add widget on it. Drag and drop the widget on the column and edit the styles and spacing.
10. To add blog list template, on the center section you will see “plus +” icon to add columns.
11. Select a structure of column you want. eg: Single column
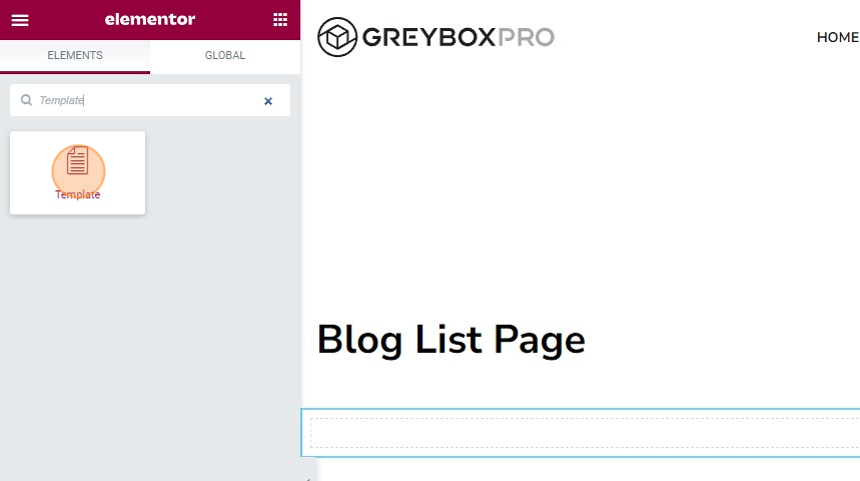
12. On the left-hand side, you will see elements panel. Search “Template” widget. Drag and Drop the widget to the column.
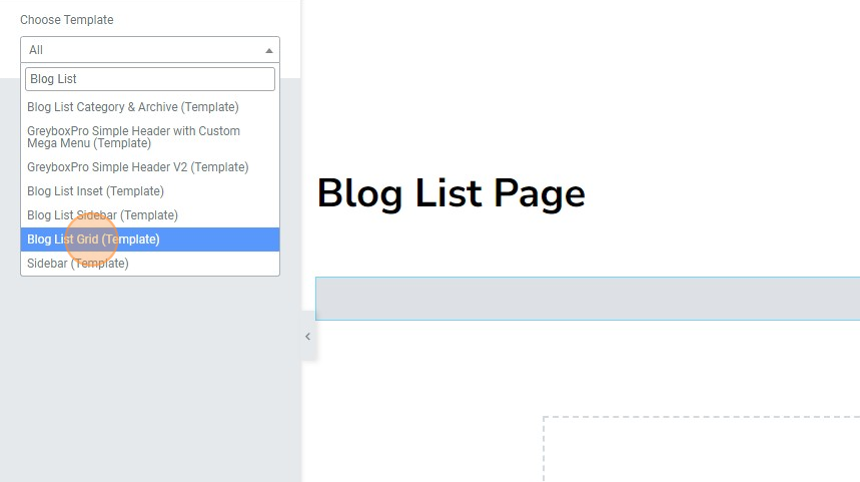
13. Click the “Template” widget. Choose template settings on the left-hand side panel. Search “Blog List” and select “Blog List Grid” or any available blog list templates.
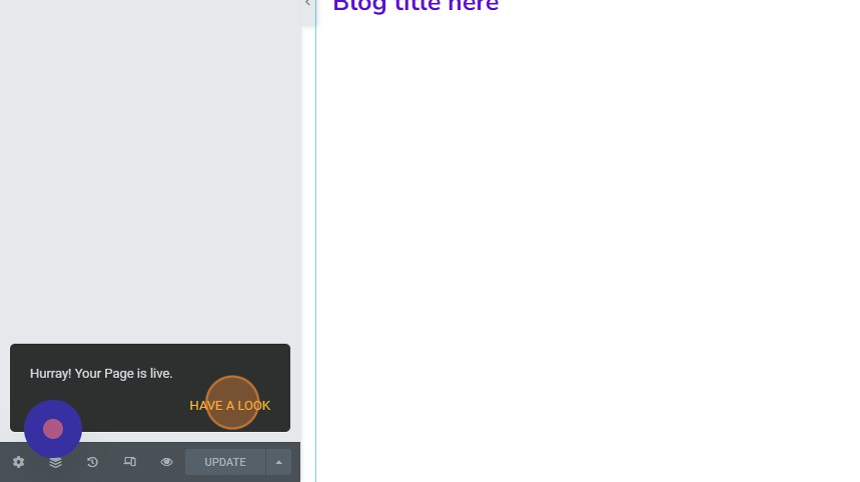
14. On the bottom left-hand corner of your screen click the ‘PUBLISH’ button to save and publish changes made.
15. Click “HAVE A LOOK” to preview the created page.