1. Login to your website WP admin dashboard, for example, https://greyboxprod.wpengine.com/wp-admin/.
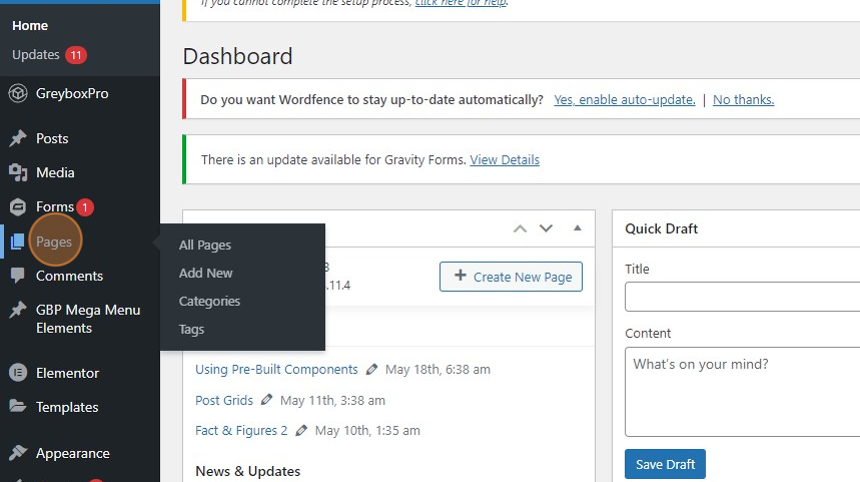
2. Click on ‘Pages’ in the menu at the left-hand side.
3. Once in the Pages window, type the word “Logo” on the textbox field at the right-hand side of your screen, and click the ‘Search Pages’ button.

4. You will see the “Logo” page appear in the list. Under the “Logo” page right-click ‘Edit with Elementor’ and ‘open link in new tab.’

5. Scroll down to see the pre-built logo grid components samples. Right-click on the section that you like and select ‘Copy’.

6. Switch to the Pages tab and open the page where you will use the pre-built logo grid in Elementor. Paste the copied pre-built logo grid onto the desired location on the canvas.

7. To edit and customize the pre-built logo component, click on each of the elements to show the customization options in the left panel. Here you can edit the text, replace the images, and make some style changes.

8. On the bottom left-hand corner of your screen click the ‘UPDATE’ button to save the changes made.
