1. Login to your website WP admin dashboard, e.g., https://greyboxprod.wpengine.com/wp-admin/
2. Hover on ‘Templates’ in the menu at the left-hand side, then click ‘Theme builder’.

3. On the left-hand side, click on ‘Error 404’ to display the current “error 404 page”.
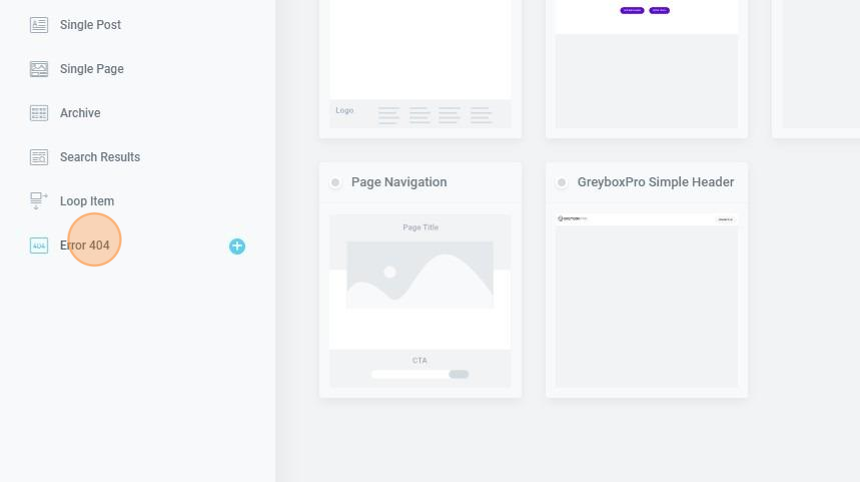
4. Sample Error 404 message

5. To add a new error 404 message, on the upper-right corner, click the ‘Add New’ button. You have two (2) options: Elementor Template or your own saved template.

6. Click close if you want to create your own template. Otherwise, you can select an existing 404 template.

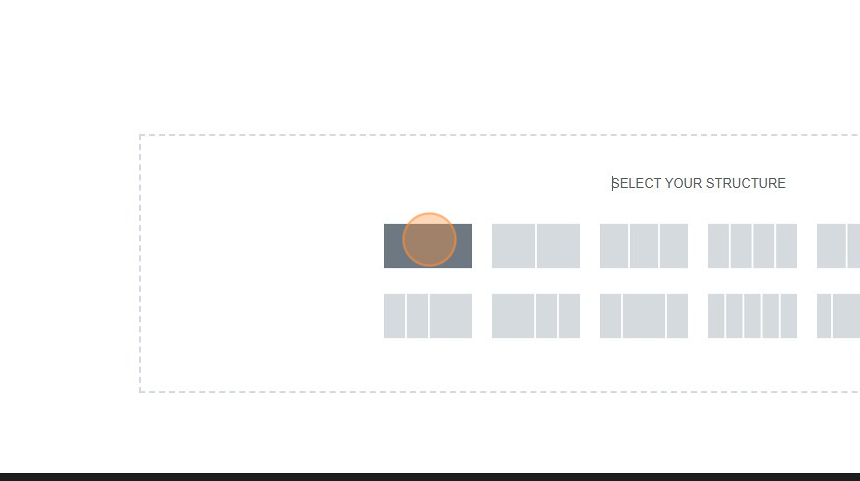
7. On the new page click in the “+” icon to add new section.

8. Select a single column to add a new section.
9. Inside the column, you will see a “+” icon. Click it to add a new widget.

10. Drag and drop ‘Heading’ or anything you want to add to the section. Type in your text.

11. You can also setup the text alignment by clicking on the “Add Your Heading Text Here.”
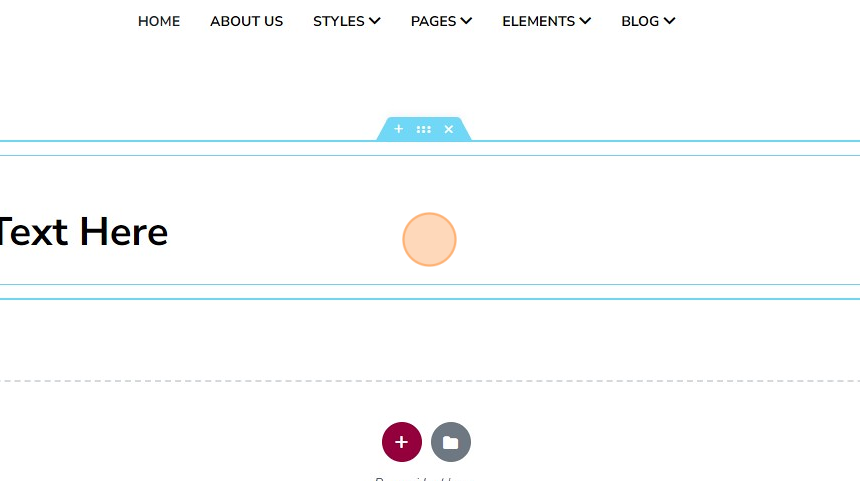
12. On the left-hand side, you can set alignment to “center”, “left”, “right”, or “justify”.

13. On the upper right-hand corner of your screen click ‘Publish’ button to save the changes made.

14. It will display the popup modal to ‘add condition’ of the template. You can select specific page you want, then click ‘SAVE & CLOSE’ button.

15. On the bottom left-hand click the eye icon to preview.
