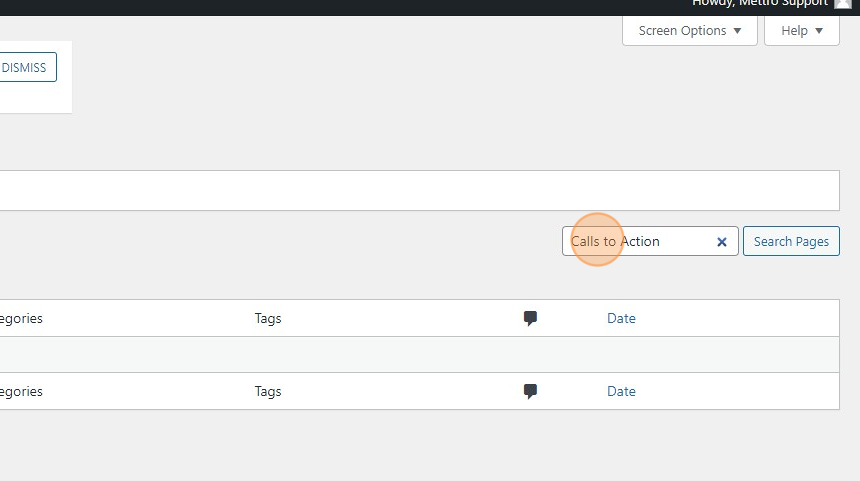
1. In the Pages window, type “Call to Action” on the textbox field at the right-hand side of your screen, and click the ‘Search Pages’ button.
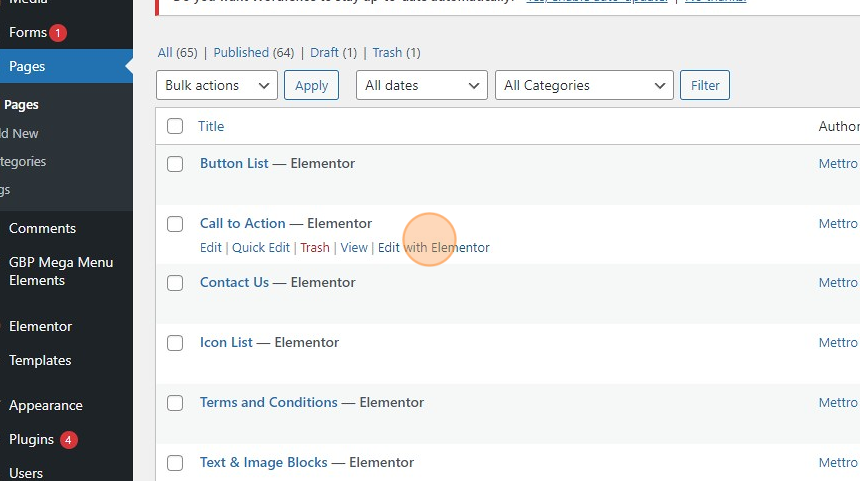
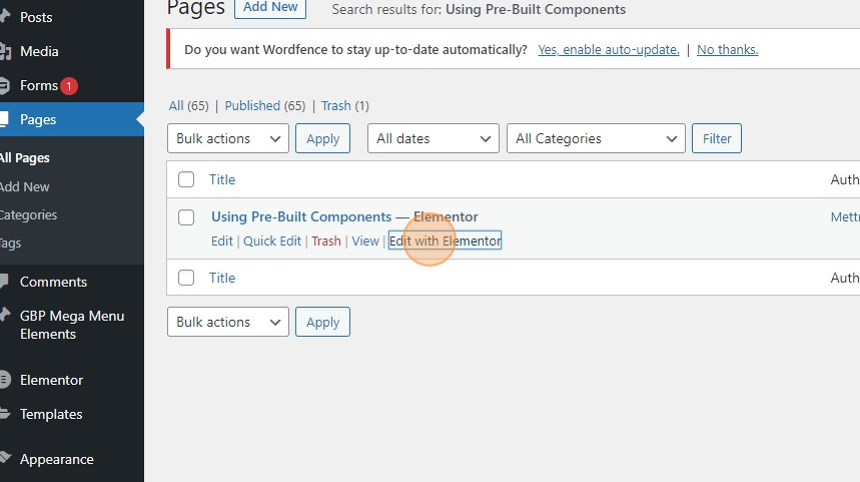
2. You will see the “Call to Action” page appear in the list. Under the “Call to Action” page right-click ‘Edit with Elementor’ and open in a new tab.
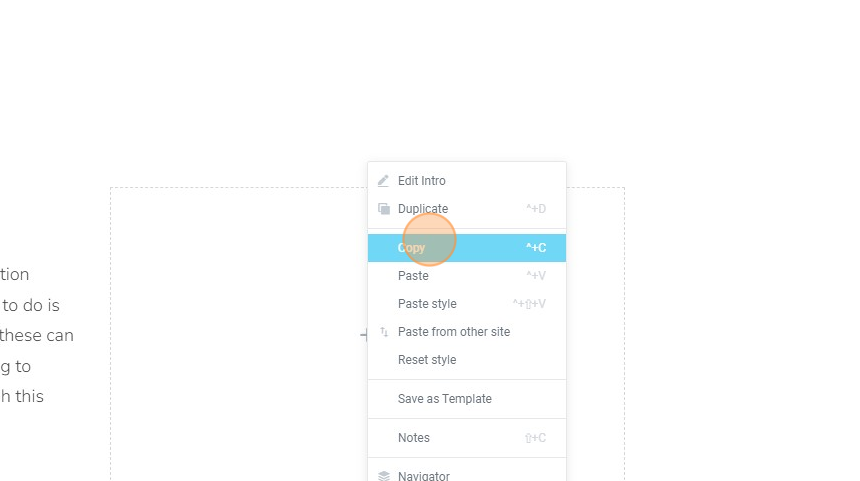
3. In the existing GreyboxPro “Call to Action” page, scroll down to see the examples and decide on which pre-built CTA you like. Hover over your chosen component to reveal a grid icon with the caption edit section. Right-click on the grid and select copy. Make sure that you are selecting the entire section and not just the inner sections.
4. Search the page you will be working on or create a new page in the Pages window. In this example, we are using the page entitled “Pre-Built Components”. Under the page title, right-click ‘Edit with Elementor’ and open in a new tab.
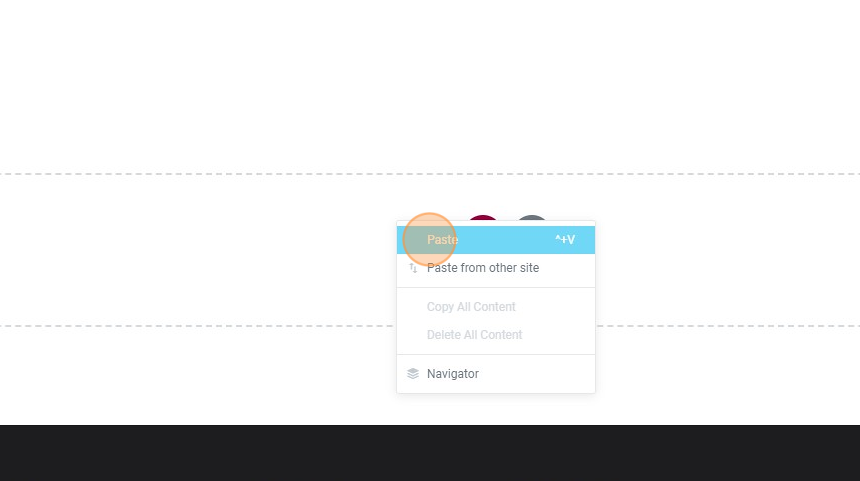
5. On the new “Pre-Built Components” or the page you are working on, right-click on the ‘Drag widget here’ section and select ‘Paste’. This will paste the section that you copied from the existing GreyboxPro “Call to Action” page onto your current page.
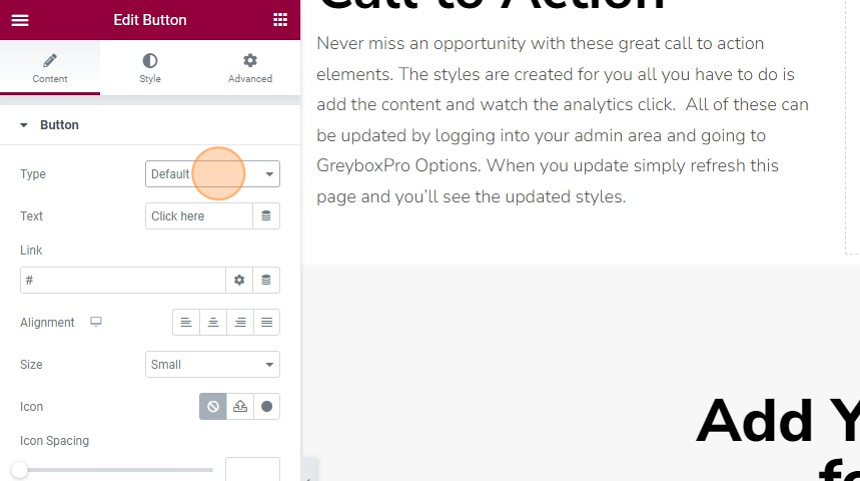
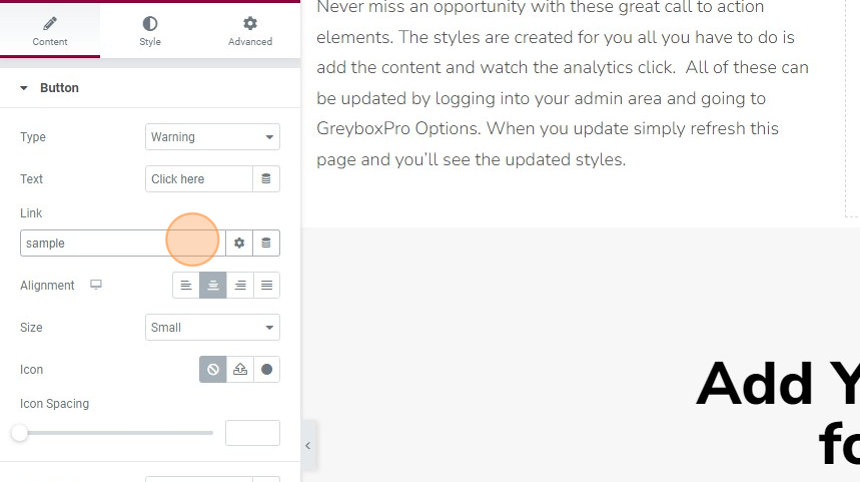
6. You can customize the button by clicking on it to reveal the ‘Edit Button’ options on the left-hand menu. In the type label, you can change the button type to ‘Default’, ‘Info’, ‘Success’ or ‘Warning’.
7. You can also change the text, alignment, and size of the button in the ‘Edit Button’ menu.
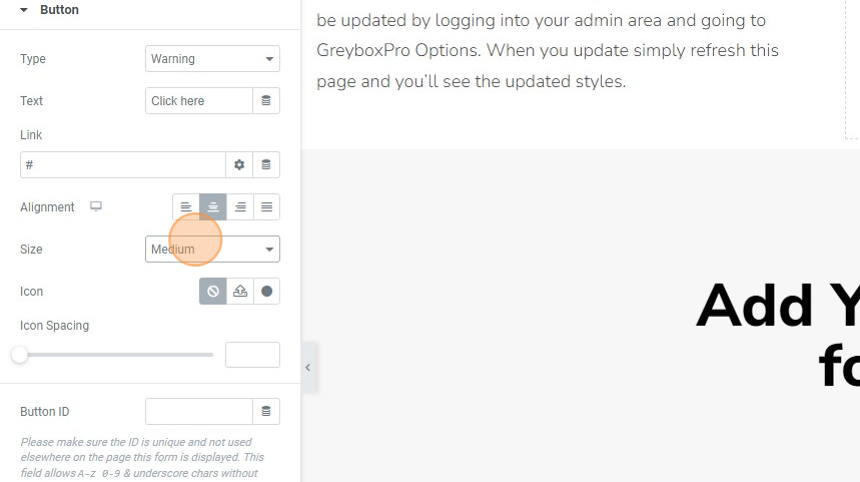
8. To update the button’s link, choose from the choices or type in the updated link.
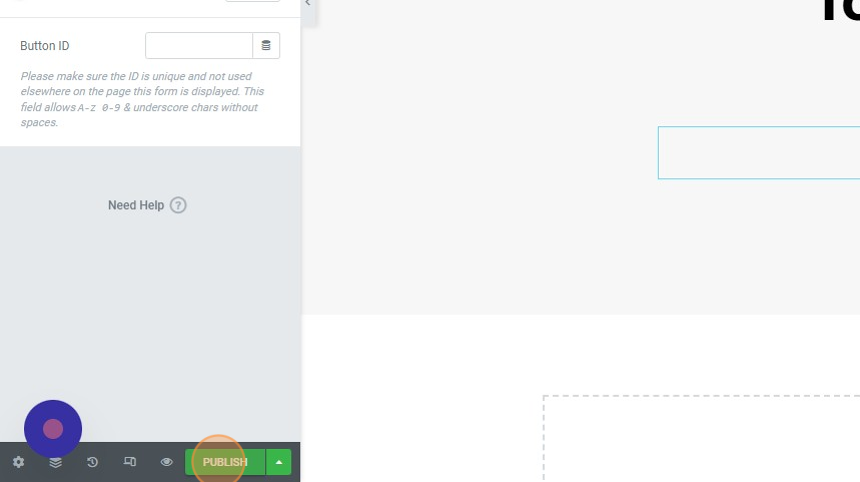
9. Then at the bottom left-hand corner of your screen click the ‘UPDATE’ button to save the changes made.