1. Login to your website WP admin dashboard (e.g., https://greyboxprod.wpengine.com/wp-admin/)
2. Click on ‘Pages’ in the menu at the left-hand side.

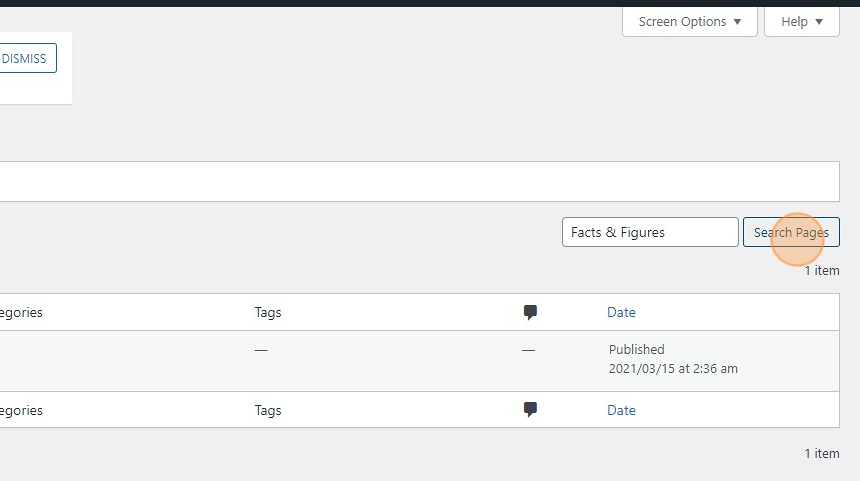
3. Once in Pages window, type “Facts & Figures” on the textbox field at right-hand side of your screen, and click the ‘Search Pages’ button.
4. You will see the “Facts & Figures” page appear in the list. Hover over it to reveal additional options. Right-click on ‘Edit with Elementor’ and open it on a new tab. Leave this tab open for now.

5. If creating a new page, click the ‘Add New’ button. This will create and open up a new page window. If working on an existing page, search and open it from the list by clicking ‘Edit with Elementor’.

6. On the new page, type in the preferred page title in the ‘Add title’ text field. In this example, we are using “Facts & Figures 2”. Skip steps 6 to 8 if working on an existing page.

7. Then at the top-right hand side of your screen click ‘Publish’ button.

8. Click Edit with Elementor at the top of your screen to start working on your page.

9. Navigate back to the GreyboxPro existing Facts & Figures page tab you opened earlier.
10. In the pre-built GreyboxPro “Facts & Figures” page, scroll down to see the examples and decide on which pre-built component you like. Hover over your chosen component to reveal a grid icon with the caption edit section, then right-click on it. Make sure that you are selecting the entire section and not just the inner sections.

11. After hitting right-click, it will show a drop-down list from the Elementor editor. Click on ‘Copy’ to copy the pre-built facts & figures component.

12. Navigate back to the page you are working on or reopen it from the Pages list if necessary.

13. On the page you are working on, right-click on the ‘Drag widget here’ section and select ‘Paste’. This will paste the header section that you copied from the existing GreyboxPro “Fact & Figures” page.

14. Click on the individual widgets (for example, the counters, headings, text boxes, and buttons) to reveal the edit options on the left-hand menu. Type in the necessary information and customize as you wish.
15. On the bottom left-hand click ‘Preview’ (eye icon) to view you new page.

16. If you are satisfied with how everything looks, click the ‘UPDATE’ button at the bottom left-hand corner of your screen to save the changes made.
