This procedure applies to existing clients using the GBP plugin. In preparation for Elementor’s transition from sections to containers, our development team proactively completed the migration to ensure compatibility before sections become obsolete.
Below are the steps to follow for seamlessly transition from sections to flexbox container.
1. Login to your website (www.xxxxx.com.au/wp-admin)
2. Update the latest version of your GBP and Elementor plugins.
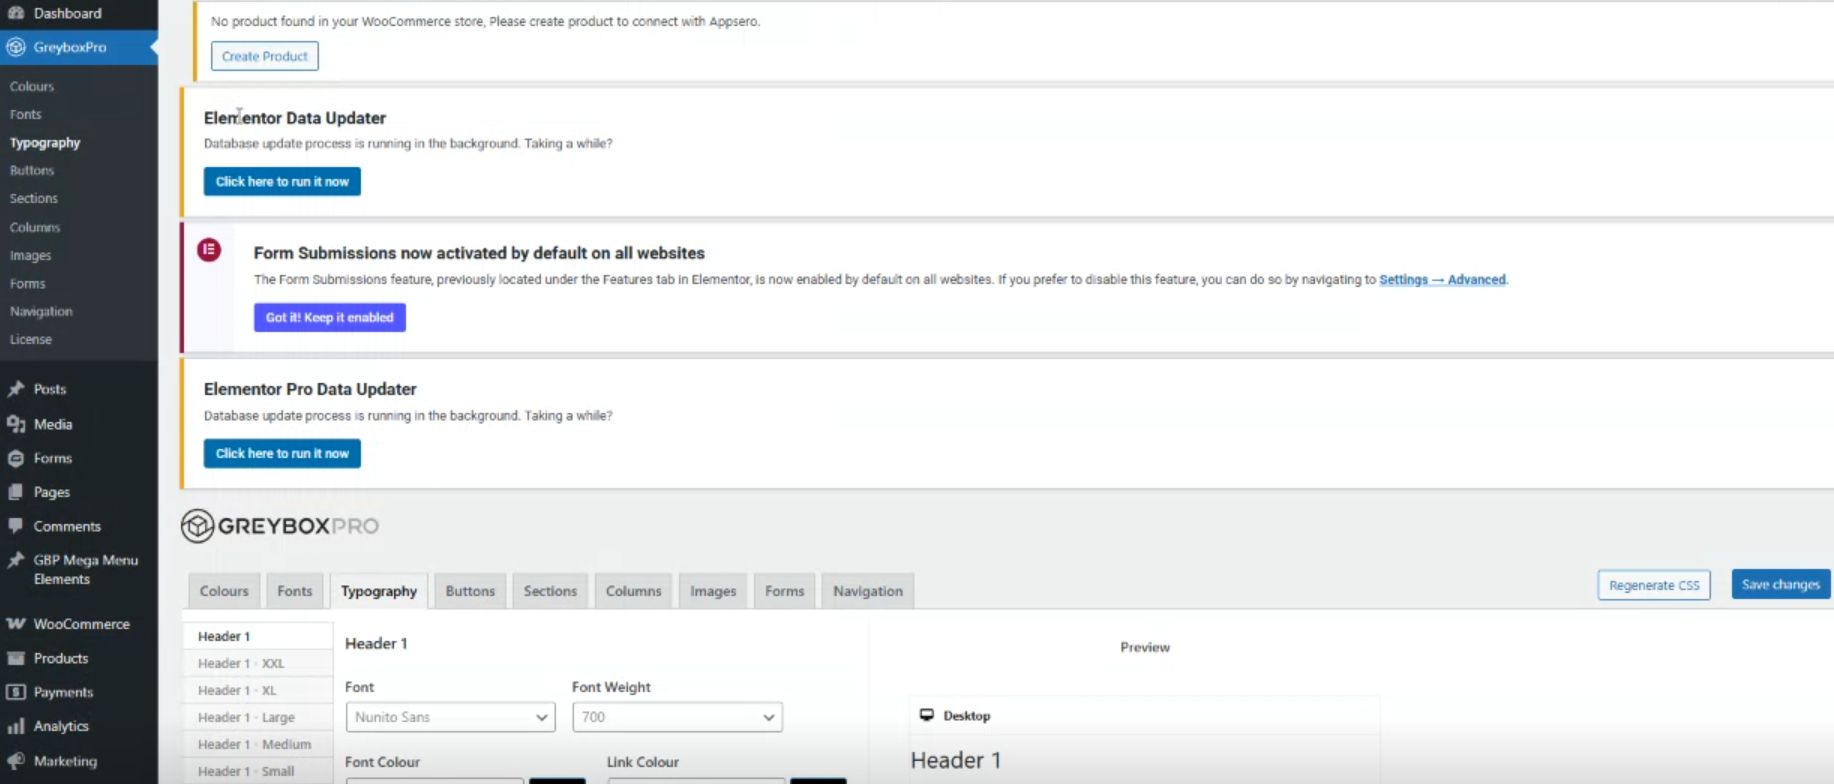
3. Once GBP Plugin has been updated on your dashboard, click GreyboxPro → Typography → Regenerate CSS→ Save changes. Incase Regenerate is not visible, just click Save changes.
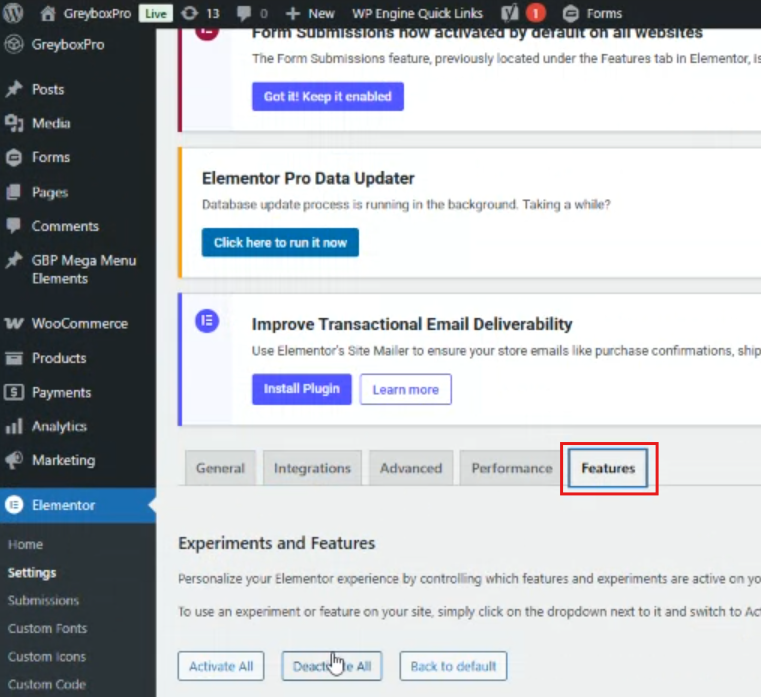
4. On your dashboard, click Elementor → Settings
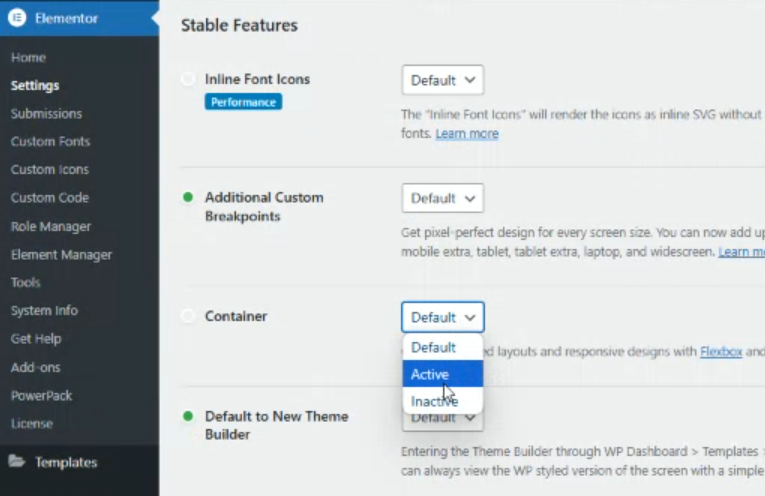
5. Features tab and active Container (image2) then save, as this is not automatically activated once all plugins has been updated.
6. On your pages, open a page with Elementor

7. If incase this is how it looks, just refresh your page it will be ok.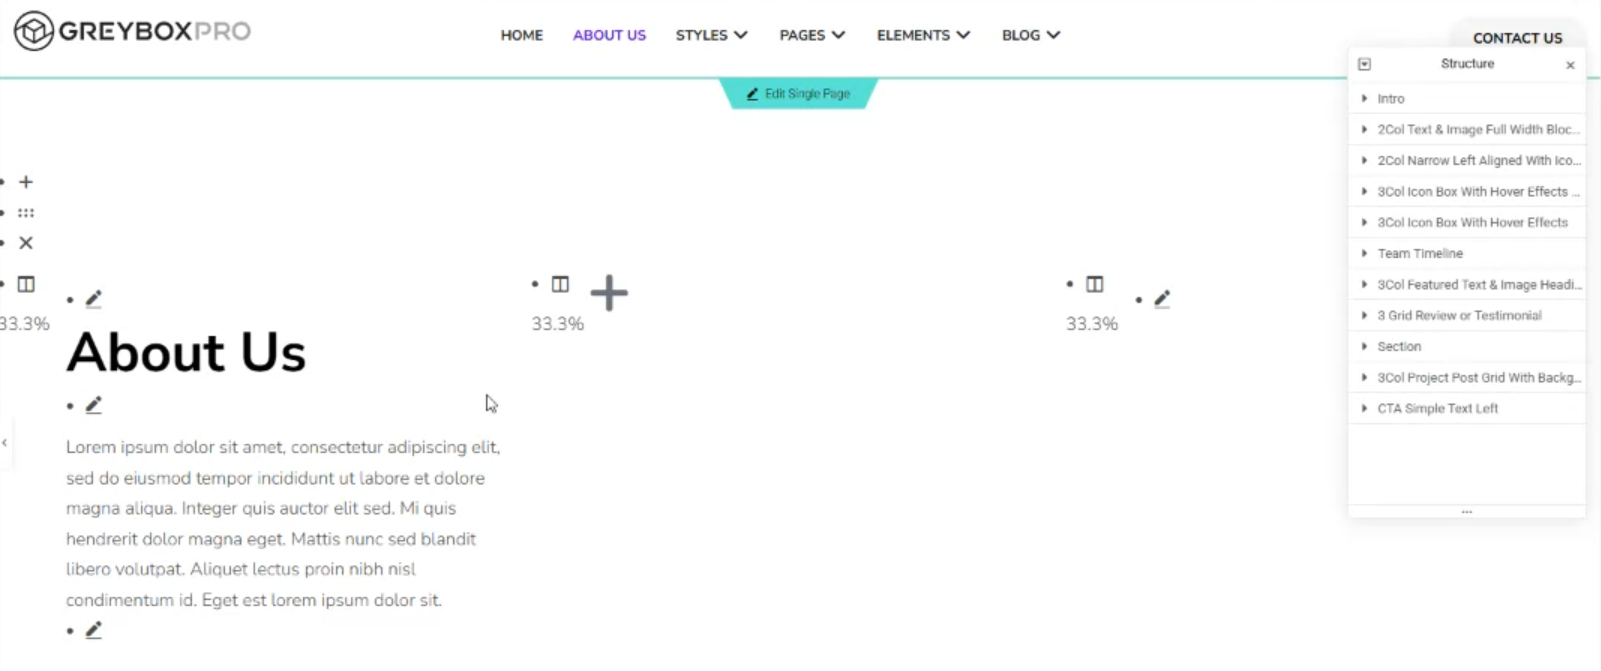
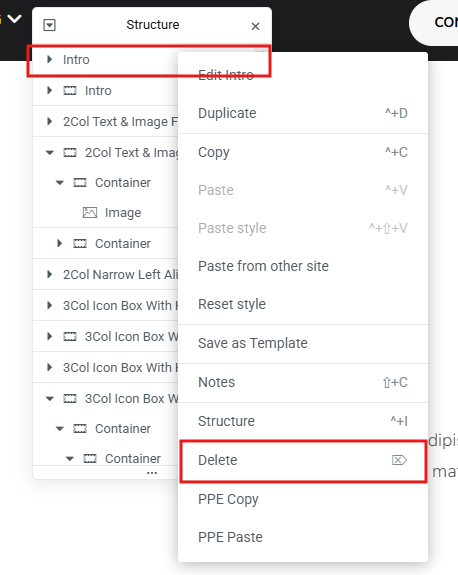
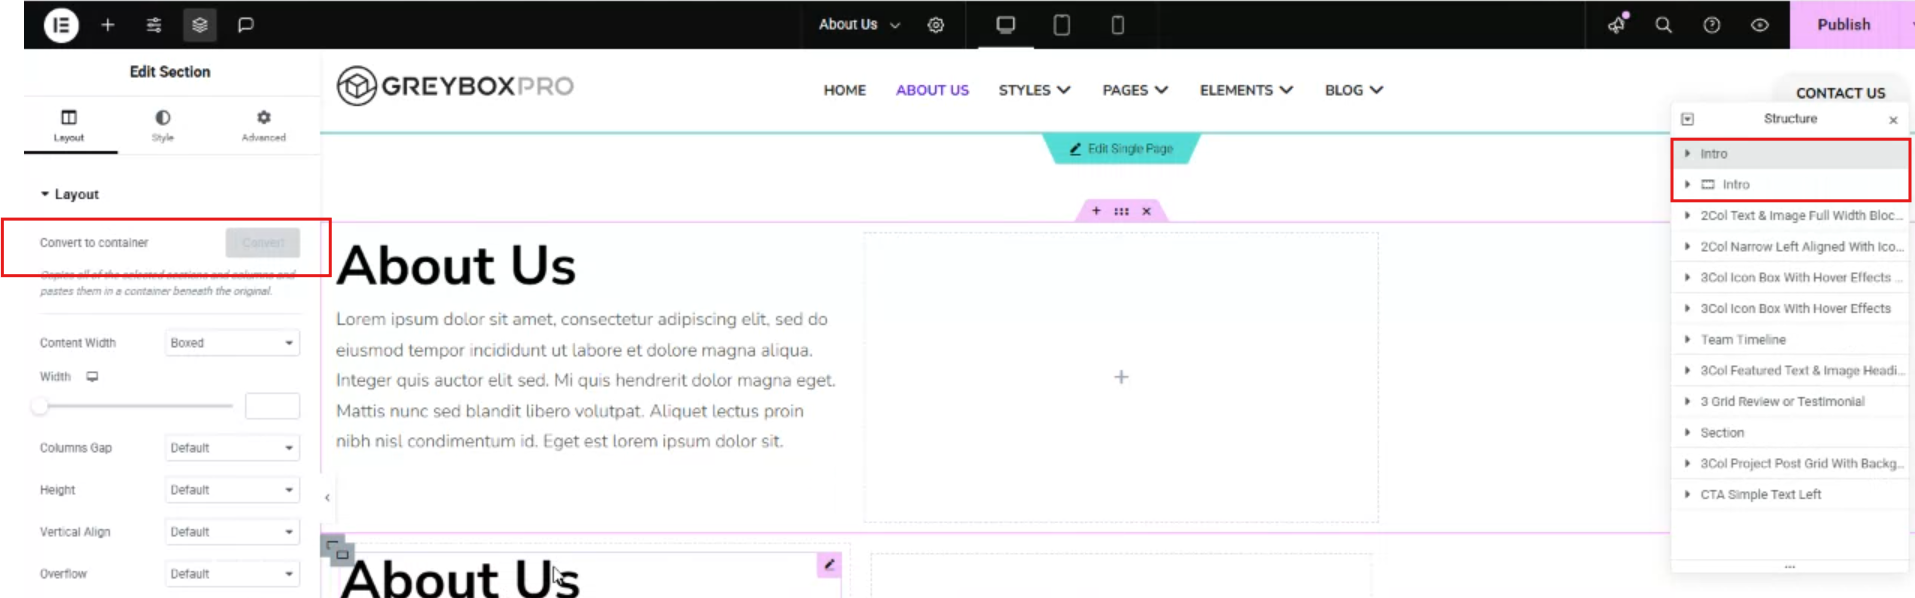
8. Open the structure to easily show all the sections.
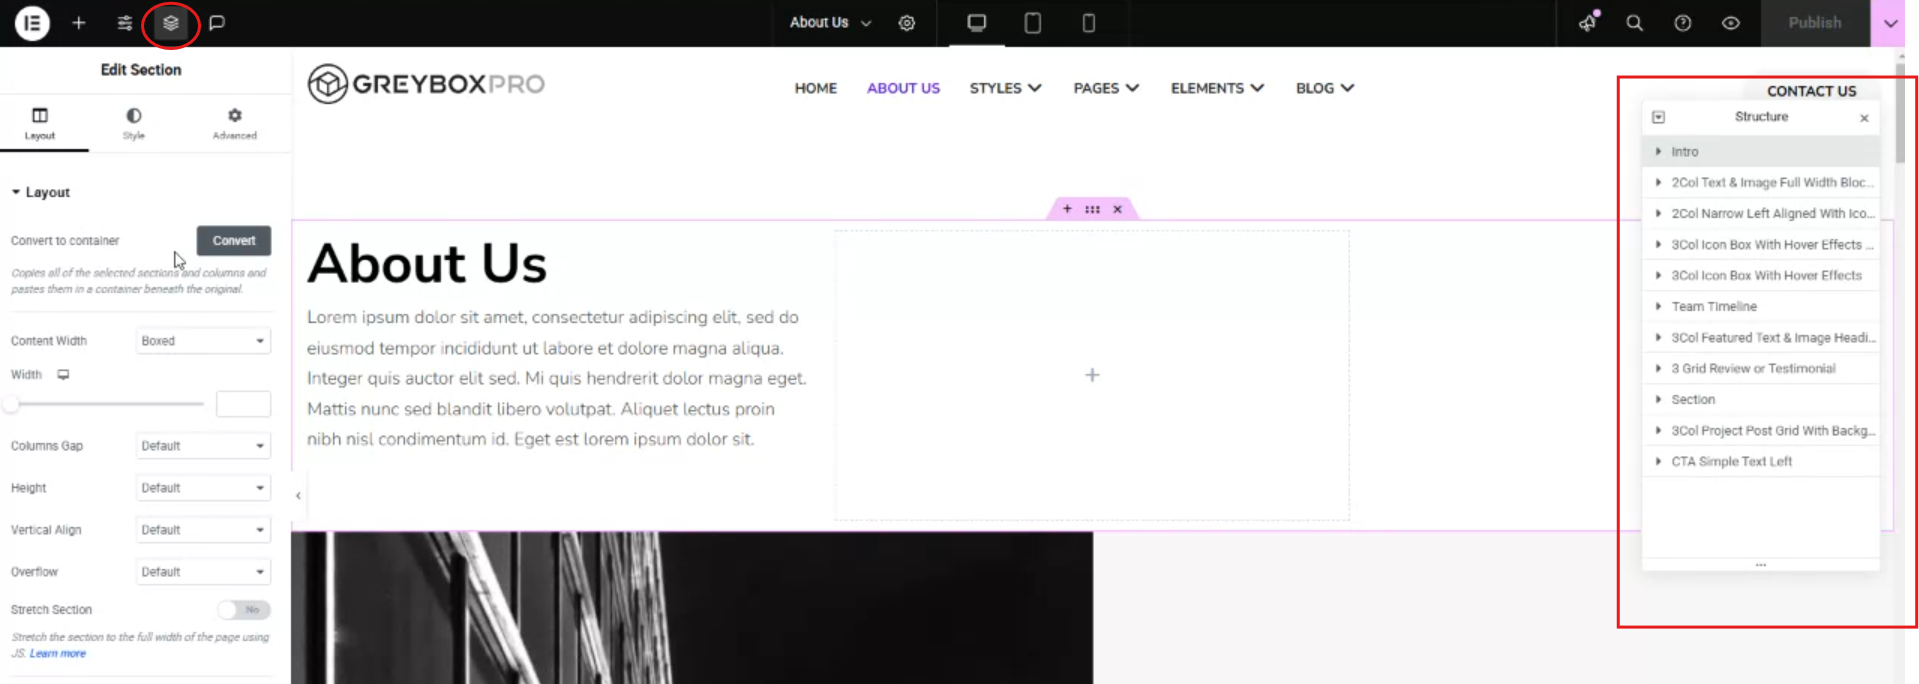
9. Click on the section, e.g. Intro, on the right side click Convert button, this button will not visible if you did not execute step4. You will notice a duplicate “Intro”, old and the new with icon means container.
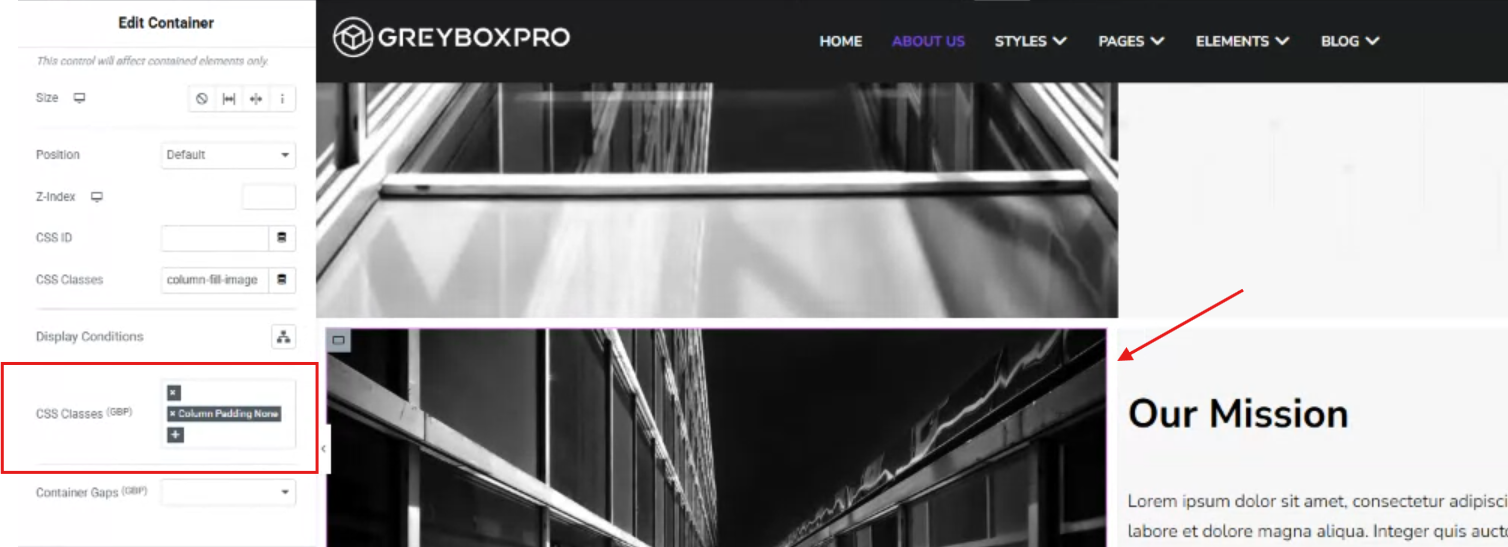
For some instance, it was not 100% replicated by the look, that’s the limitation of this Elementor section to flexbox container conversion. What GBP did was created a CSS classes that will help you modify your containers/flexbox the way how it looks before. It may not be perfectly copied but atleast close to.
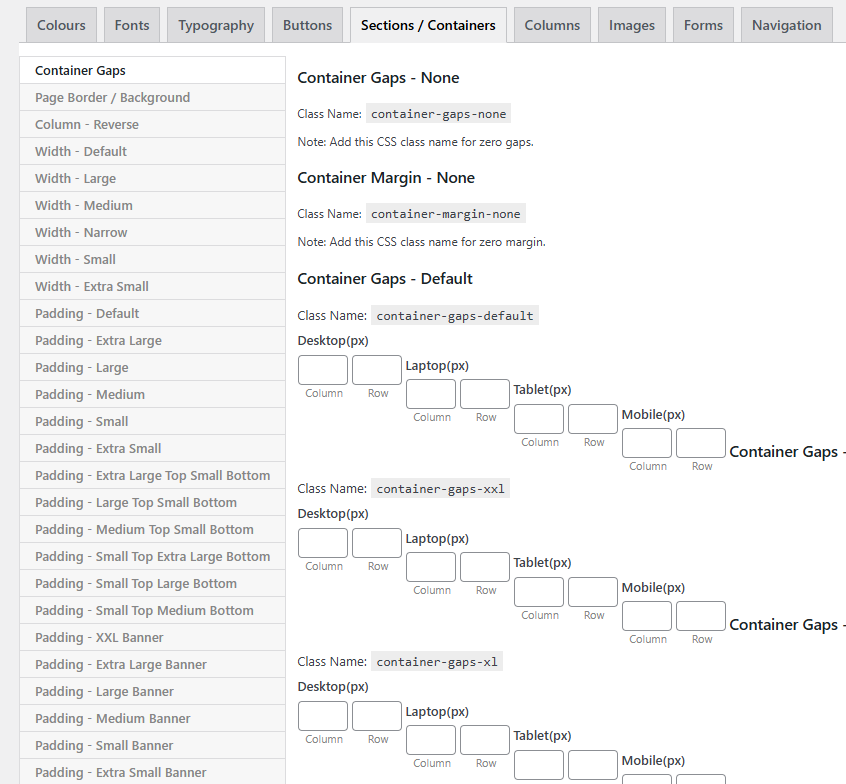
You may notice the duplicate of the flexbox using container has gap around it, you use to play around different CSS class and Container Gaps.
10. Once all sections has been converted to flexbox container, proceed to delete old sections. Don’t forget to Save or Publish your changes.