1. Login to your website WP admin dashboard (e.g.,
https://greyboxprod.wpengine.com/wp-admin/).
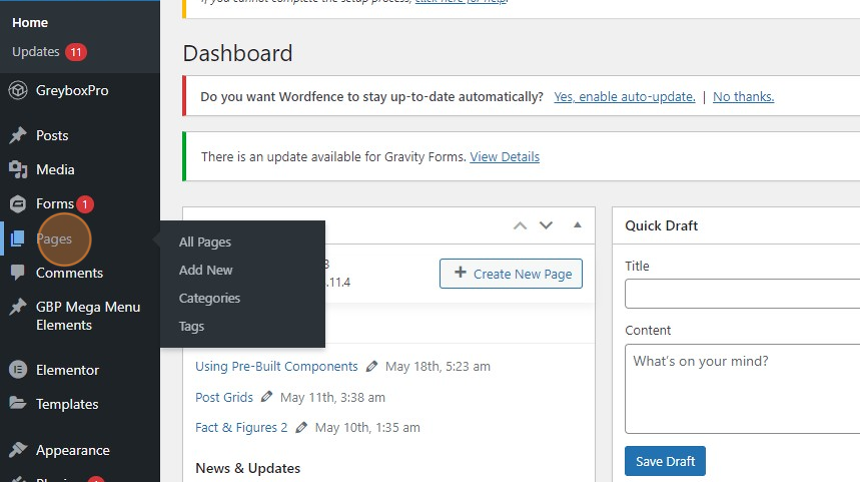
2. Click on ‘Pages’ in the left-hand side menu.
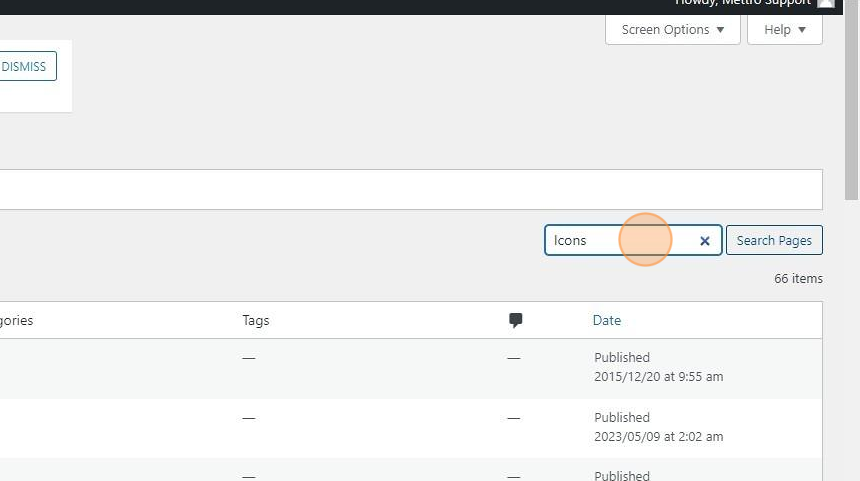
3. Once in the Pages window, type the word “Icons” on the textbox field at the right-hand side of your screen, and click the ‘Search Pages’ button.
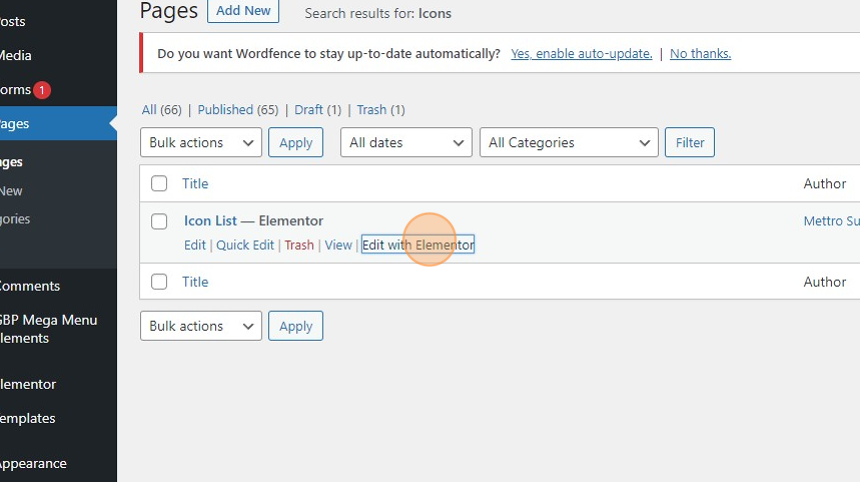
4. You will see the “Icons” page appear in the list. Under “Icons”, right-click ‘Edit with Elementor’ and open in a new tab.
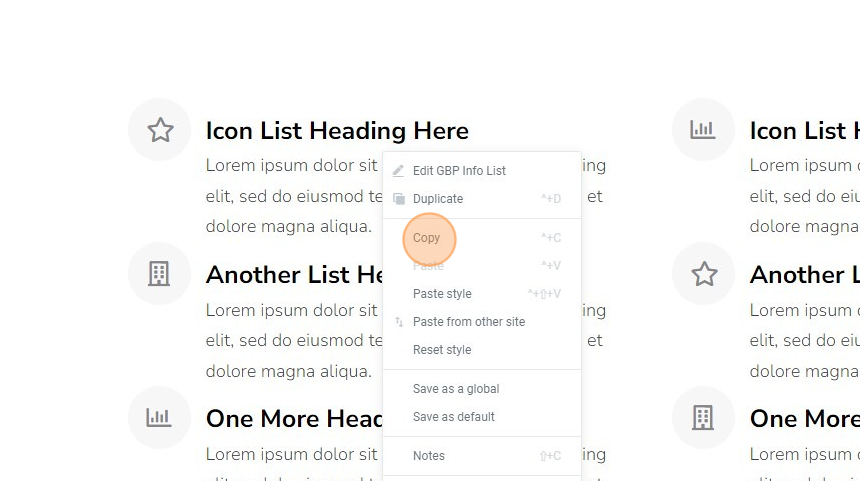
5. Scroll down to see the icon list samples. Right-click your chosen widget/section and select ‘Copy’.
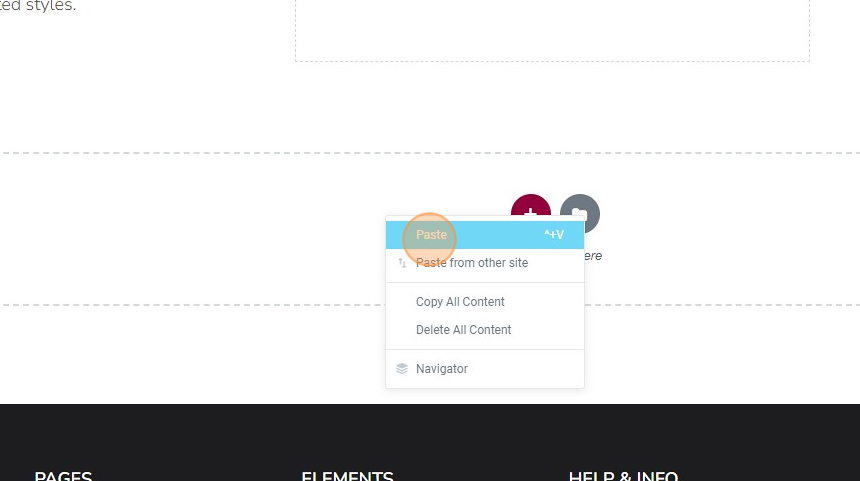
6. Open the page that you’ll be working on in the Elementor Editor and paste the copied widget/section on the canvas.
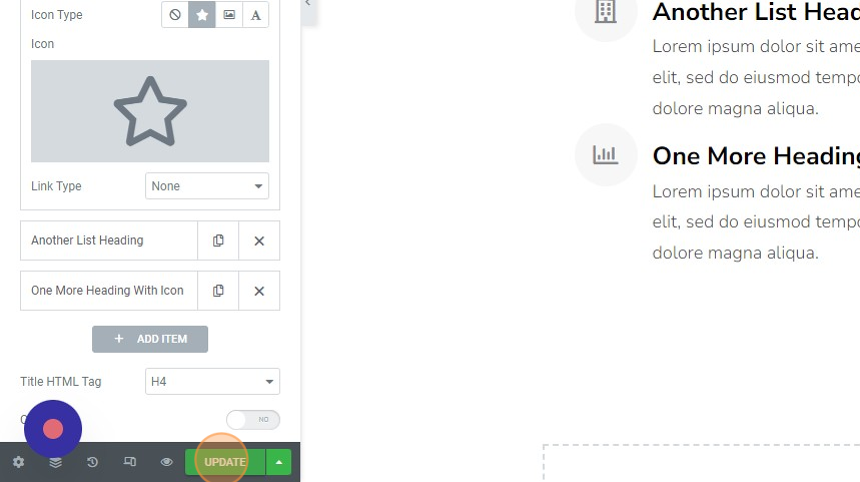
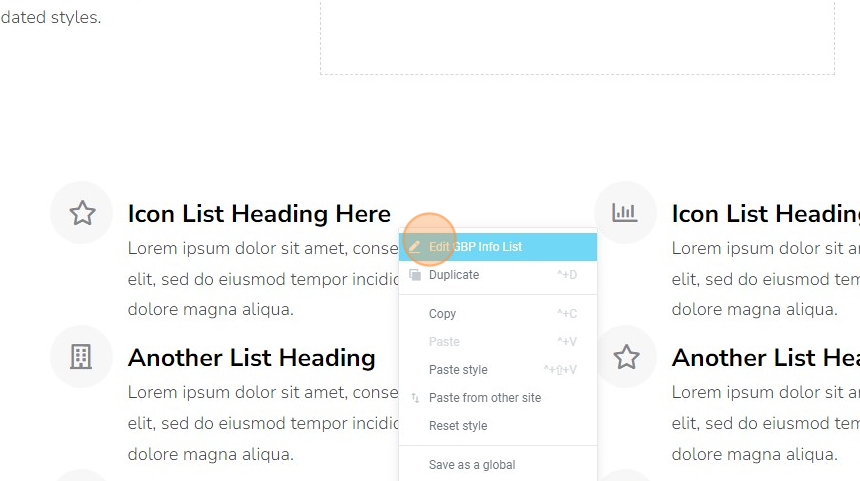
7. Click the copied section/widget to customize it.
8. You will see the customization options in the left-hand side panel. Under the list item, you can edit the title and description and change the icon. To learn more about it, read our guides “How to Use Icons”, and “Uploading Your Own Icons”.
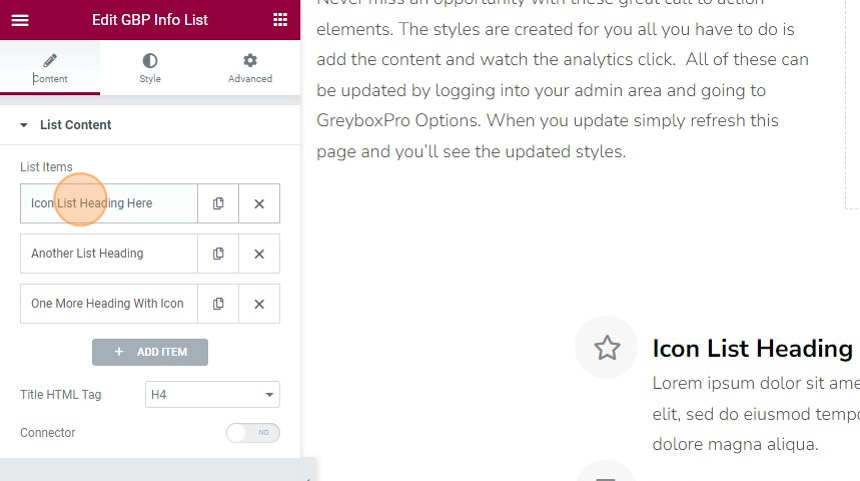
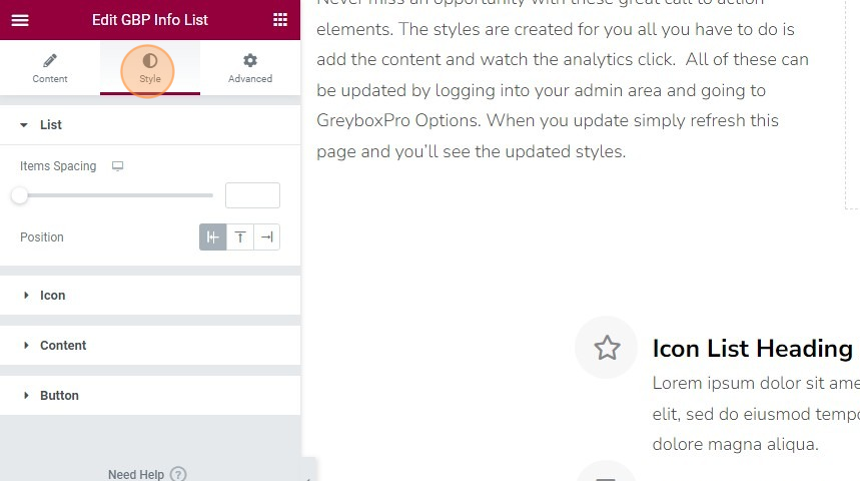
9. Click the ‘Style’ tab to see style customization options for the List, Icon, Content, and Button.
10. Click the ‘UPDATE’ button on the bottom left-hand side to save the changes made.